Dyson vacuums are known for their powerful suction and innovative design. However, if you don’t know how to properly empty your Dyson vacuum, its performance may suffer. In this article, we will guide you through the process of emptying a Dyson vacuum step by step, ensuring that you can maintain its optimal cleaning power.
Understanding Your Dyson Vacuum
Before diving into the emptying process, it’s important to familiarize yourself with the key components of your Dyson vacuum. This will not only make the emptying process easier but also enable you to troubleshoot any issues that may arise.
When it comes to cleaning your home, a Dyson vacuum is a reliable and efficient tool. But what exactly makes up a Dyson vacuum? Let’s take a closer look at its key components.
Key Components of a Dyson Vacuum
A Dyson vacuum typically consists of a dust bin, a motor, a filter, and various attachments. Each component plays a crucial role in ensuring the optimal performance of your vacuum.
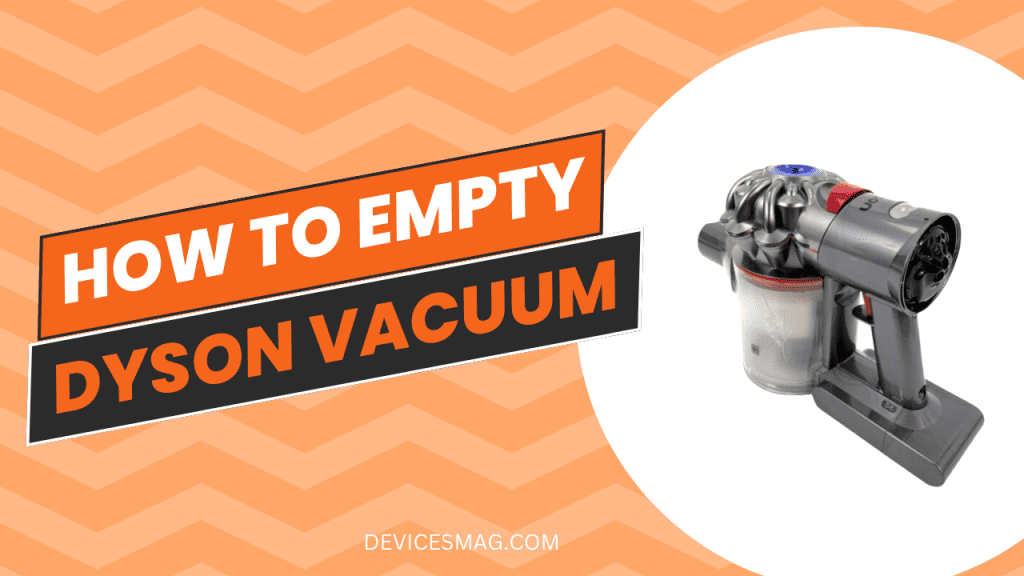
The dust bin is where all the collected debris accumulates. It is designed to be easily removable, allowing you to empty it without any hassle. With a transparent design, you can easily monitor the level of dirt and dust inside, ensuring that you empty it at the right time.
The motor is the heart of your Dyson vacuum. It creates the strong suction that ensures a thorough cleaning. Powered by advanced technology, the motor in a Dyson vacuum is engineered to provide powerful and consistent suction, making it highly effective in picking up even the tiniest particles from your floors and carpets.
Another important component is the filter. The filter helps trap dust particles and prevents them from recirculating into the air. This not only ensures a cleaner environment but also helps improve the overall air quality in your home. It is recommended to clean or replace the filter regularly to maintain the vacuum’s performance.
In addition to these key components, Dyson vacuums come with various attachments that enhance their versatility. These attachments include a crevice tool for reaching tight spaces, a brush tool for removing dust from delicate surfaces, and a pet hair tool for effectively tackling pet hair. These attachments can be easily connected to the vacuum, allowing you to customize your cleaning experience based on your specific needs.
Safety Measures Before Starting
Before diving into the emptying process, it’s crucial to take some safety precautions. Always make sure that your Dyson vacuum is unplugged before starting any maintenance or emptying task. This ensures your safety and prevents any potential accidents.
In addition to unplugging the vacuum, it’s also important to find a well-ventilated area to prevent any dust particles from spreading around your living space. This will help maintain a clean and healthy environment while you perform the necessary maintenance tasks.
By following these safety measures, you can ensure a smooth and hassle-free experience when emptying your Dyson vacuum.
Also read: Dyson Blinking Blue Light While Charging-6 Quick Solutions
Preparing to Empty Your Dyson Vacuum
Now that you understand the basics of your Dyson vacuum, it’s time to gather the necessary tools and equipment for the emptying process.
Emptying your Dyson vacuum is an important maintenance task that ensures optimal performance and longevity of your device. By regularly emptying the vacuum, you prevent the accumulation of dirt and debris, allowing the vacuum to effectively clean your home.
Necessary Tools and Equipment
You don’t need an extensive collection of tools to empty your Dyson vacuum. All you’ll need is a garbage bag, a soft brush or cloth, and access to a sink or outdoor area where you can dispose of the collected debris. Having these items on hand will make the emptying process more efficient.
The garbage bag serves as a convenient receptacle for the collected dirt and dust. Make sure to choose a sturdy bag that can withstand the weight and volume of the debris. Additionally, a soft brush or cloth is useful for gently removing any stubborn dirt or hair that may be stuck in the vacuum.
Having access to a sink or outdoor area is essential for disposing of the collected debris. This allows you to easily and hygienically empty the contents of the vacuum without creating a mess in your living space.
Choosing the Right Environment
When preparing to empty your Dyson vacuum, it’s crucial to choose the right environment. Find a well-lit area with a flat surface where you can comfortably disassemble and empty the vacuum without any obstructions.
Having ample lighting ensures that you can clearly see the internal components of the vacuum and identify any areas that may need additional cleaning or maintenance. A flat surface provides stability and prevents the vacuum from tipping over during the emptying process.
Furthermore, selecting an environment without obstructions allows you to move freely around the vacuum, making it easier to disassemble and empty. This minimizes the risk of accidents and ensures a smooth and efficient emptying process.
Also read: Dyson Bristles Not Spinning (FIXED!)
Step-by-Step Guide to Emptying Your Dyson Vacuum
Now that you’re fully prepared, let’s dive into the step-by-step process of emptying your Dyson vacuum!
Removing the Dust Bin
The first step is to remove the dust bin from your Dyson vacuum. Depending on the model, you may need to press a release button or simply lift off the bin. Be gentle to avoid any damage to the vacuum or yourself.
As you remove the dust bin, take a moment to appreciate the engineering marvel that is the Dyson vacuum. With its sleek design and powerful suction, it’s no wonder that Dyson vacuums are a favorite among homeowners and cleaning enthusiasts alike. The dust bin, an integral part of this cleaning powerhouse, is designed to be easily removable for hassle-free emptying.
Once the dust bin is in your hands, you’ll notice its sturdy construction and transparent body, allowing you to see the accumulated dirt and debris. It’s a satisfying feeling to witness the effectiveness of your Dyson vacuum firsthand.
Emptying the Dust Bin
Once the dust bin is removed, carefully take it to your designated disposal area and empty the contents into a garbage bag. Shake the bin gently to ensure all debris is removed, and tap it against a flat surface to dislodge any stubborn dirt or dust.

As you empty the dust bin, you might be surprised by the amount of dirt and debris that your Dyson vacuum has collected. It’s a testament to its powerful suction and efficient cleaning capabilities. Take a moment to reflect on the fact that your Dyson vacuum is not just a cleaning tool, but a partner in maintaining a clean and healthy home environment.
Dispose of the dirt and debris responsibly, knowing that you are contributing to a cleaner world. Consider composting any organic matter, such as pet hair or plant debris, to give back to the environment in a sustainable way.
Cleaning the Dust Bin
After emptying the contents, give the dust bin a thorough cleaning to remove any remaining dirt or debris. Rinse it under running water or use a wet cloth to wipe away any buildup. Ensure that the bin is completely dry before reassembling your Dyson vacuum.
As you clean the dust bin, you might notice some stubborn dirt or residue that requires a little extra effort to remove. Take your time and be meticulous in your cleaning process, ensuring that every nook and cranny of the bin is free from dirt and debris.
Once the dust bin is sparkling clean, take a moment to appreciate the care and attention you’ve given to maintaining your Dyson vacuum. By keeping the dust bin clean, you are prolonging the life of your vacuum and ensuring optimal performance for future cleaning tasks.
Now that the dust bin is clean and dry, it’s time to reassemble your Dyson vacuum. With a sense of accomplishment, attach the dust bin back to the vacuum, feeling the satisfying click as it securely locks into place. You’re now ready to tackle your next cleaning adventure with your trusty Dyson vacuum by your side!
Also read: Why Is My Dyson Vacuum Pulsing?
Reassembling Your Dyson Vacuum
Now that the dust bin is clean and dry, it’s time to reassemble your Dyson vacuum.
Putting the Dust Bin Back
Align the dust bin with its designated slot on the vacuum and gently push it into place. You may hear a click sound, indicating that it’s properly secured. Double-check that the bin is securely attached to avoid any suction or performance issues.

Checking the Vacuum for Proper Function
Once you’ve reassembled your Dyson vacuum, it’s essential to check its proper function before storing it away. Plug in your vacuum and test its suction power on a small patch of debris. If everything seems to be in order, congratulations! Your Dyson vacuum is ready for its next cleaning task.
Maintaining Your Dyson Vacuum
Emptying your Dyson vacuum is just one part of its overall maintenance. To keep your vacuum performing at its best, it’s important to establish a regular cleaning schedule and know when to replace certain parts.
Regular Cleaning Schedule
Set aside some time every month to clean your Dyson vacuum’s filter. This ensures that it can effectively trap dust particles and maintain optimal suction power. Additionally, make it a habit to wipe down the vacuum’s exterior regularly to prevent any buildup.
Replacing Vacuum Parts
Over time, certain parts of your Dyson vacuum may require replacement. The filter, for example, should typically be replaced every six months, but refer to your specific model’s manual for precise instructions. If you notice any damage or wear on other parts, contact Dyson for replacement parts.
Troubleshooting Common Issues
If you encounter any performance issues or unusual sounds during the emptying process or while using your Dyson vacuum, consult the troubleshooting section of your manual or contact Dyson’s customer support. They will be more than happy to assist you in resolving any issues you may encounter.
In conclusion, knowing how to properly empty and maintain your Dyson vacuum will ensure that it performs at its best and prolong its lifespan. By following these simple steps and taking care of your vacuum, you can enjoy clean floors and air for years to come.


